Custom Built

If we say custom built at RC PullingParts, we mean it in the broadest sense of the word. We take this process very seriously to ensure every custom built project is realized with great attention to quality and detail. Below we’ll explain in 6 steps how we realize the custom project of your dreams!

Feel free to check out our gallery to see what custom built tractors we did so far and what kind of possibilities are available.

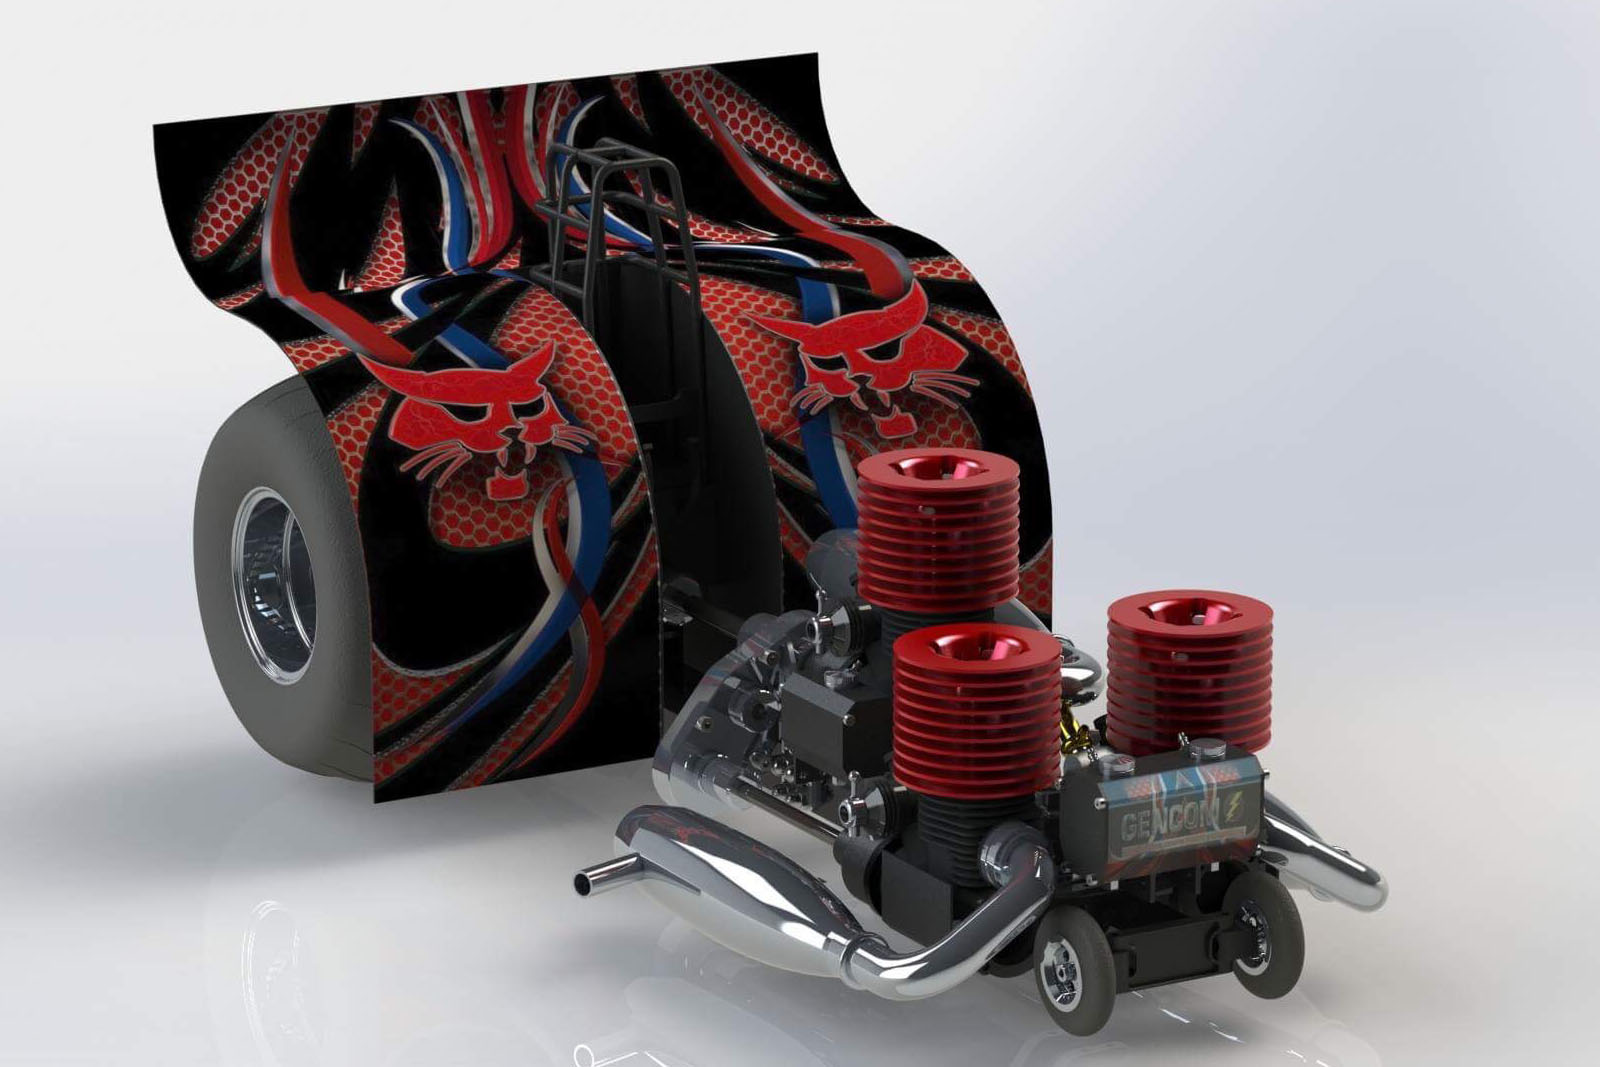
Step 1 – Make a plan

The first step in every new project is a detailed conversation with the customer. We go over all details like what parts will be used, budgets, lead times, and most importantly, any wishes the customer may have for his project during this conversation.

Once everything is clear for both parties, we will move on to step 2.

Custom Built - Step 1
Custom Built - Step 2

Step 2 – 3D Modeling

The 2nd step is 3D modeling. We have many default parts that are ready to be assembled into a 3d model. The 3D model will give the customer a great idea of how the tractor will look when it’s finished. It will help us find any possible flaws early in the design stage, and it will speed up the production stage.

During the 3D modeling stage, the customer will receive regular updates with digital renders and detailed explanations.
At this point, any design changes can be made if required.

Step 3 – Revision & Finalizing

When the 3D model is finished, a final render will be made and shown to the customer. At this point, we will discuss if everything is as the customer requires.

If not, revisions are made to ensure the customer is 100% satisfied with the design before starting the build.

Custom Built - Step 3
Custom Built Step 4

Step 4 – Building & Machining

If the customer fully approves the design, the exciting part can start… which is building! We always have plenty of parts in stock, so the tractor’s base is usually pretty quick to build.

Since the full tractor has been designed in 3D, we can take a 3D model and 3D print or CNC machine it rapidly.

The customer will receive progress pictures very regularly,
as soon as any part is made or assembled, we will give an update to the customer to stay in touch during the building process.

Step 5 – Final Assembly

When all parts are manufactured, we can start with the final assembly. During this assembly, we look especially if everything fits well and runs smooth.

If we find any issues during this process, they are corrected to ensure you will receive a hassle-free tractor that runs smoothly and reliably.

Custom Built - Step 5
Custom Built - Step 6

Step 6 – Approval and Delivery

When the tractor is fully assembled and passed all checks and tests, we will make detailed pictures for the customer.

Once everything is approved, we will prepare everything for shipping. Everything is packed carefully to make sure the tractor will arrive damage-free at the customer. Every shipment has full insurance and a tracking number for maximum security.

Final word

This may look like a long dreading process, but in most cases, it’s not! Making the plan with the customer usually takes a few messages.

Modeling usually takes a few days, depending on complexity. Building and machining is obviously the longest process and will heavily depend on its complexity and how many projects we are currently working on.

Generally, a good indication on a custom puller ranges from a few weeks to a few months, depending on the circumstance written above.

In case you got curious or want more information or a free quote for a project you have in mind. Feel free to contact us, and we will be happy to answer any questions you may have.